
Course Tour
Click the tabs below for photos and tips about each hole:
-
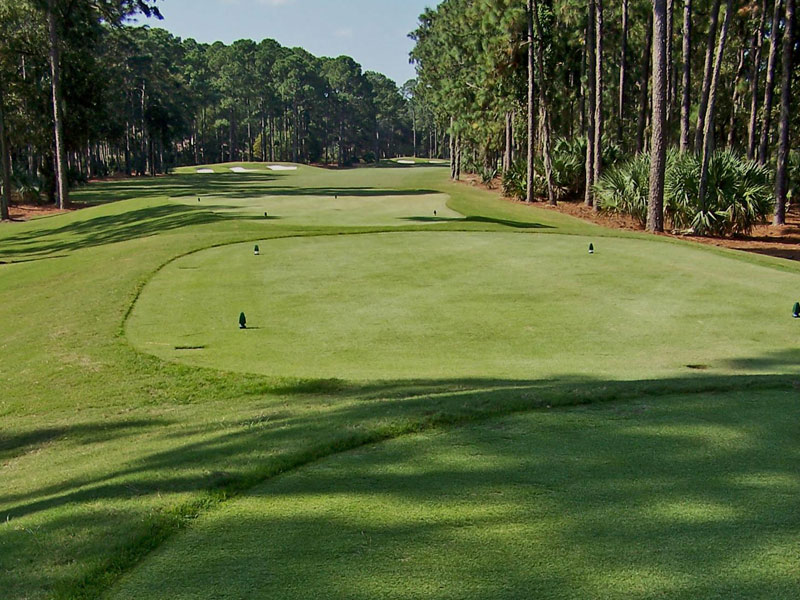
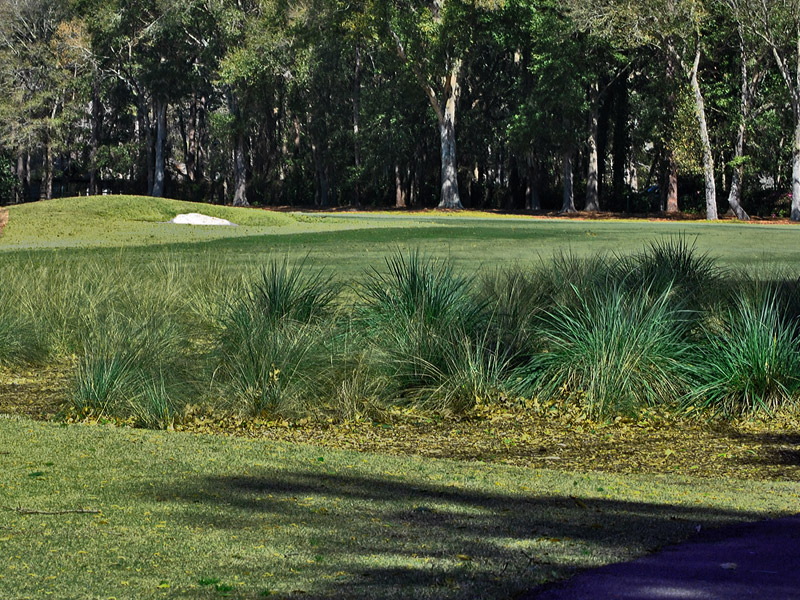
Hole #1
Although not very long, the first hole reveals the characteristics of the course to come. A par 4 slight dogleg to the right with a guarded green with water on the right and flanked by bunkers makes the approach shot difficult. Think twice about being aggressive with your second shot here there’s plenty of time to take some chances later in the round. -
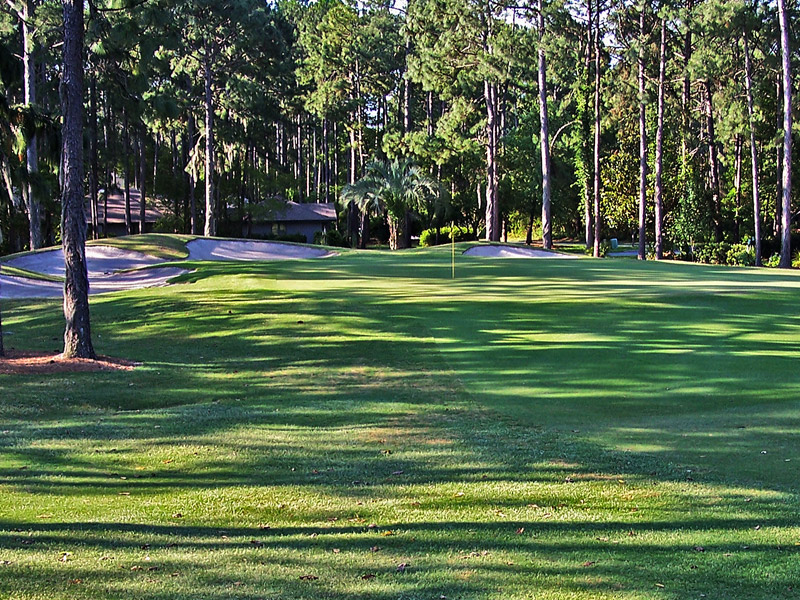
Hole #2
This is a beautiful par 3, but it is tough to make par if you miss the green on your tee shot. Club selection is the key. Choose a club that will comfortably carry the water as there is more green in the back than it appears. Aim for the middle of the green and give yourself a chance at birdie. -
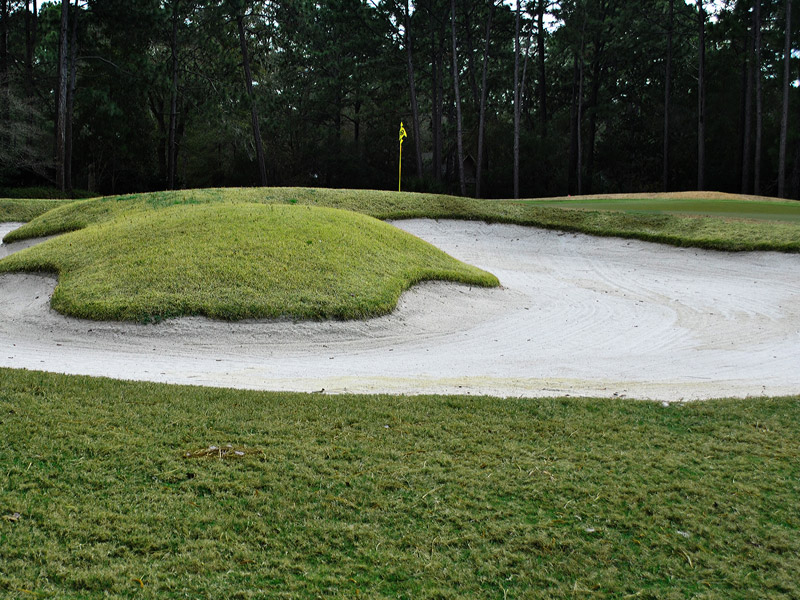
Hole #3
This is the number one handicap hole. You won't find a more classic dogleg right par 4. Even with a perfect drive between the fairway bunkers, the second shot can be lengthy. The green slopes severely back to front, so keep your approach shot short to give yourself an uphill putt or chip to the hole. -
Hole #4
The first par 5 on the course is a worthy challenge. Try to hug the corner to the left on your tee shot to cut off some of the distance of the hole. Driver isn't necessary for the longer hitters. You will want to play this as a three shot hole. To give yourself the best chance at birdie on this hole, you will want to be in the fairway and have a wedge in your hand to attack the difficult hole locations, so be sure to pay attention to your second shot. If you don't manage to avoid the trees or fairway bunkers throughout the hole and have more than a wedge in for your third shot, aim for the middle of the green and take your par. -
Hole #5
The shortest par 4 on the course is not the easiest of the course. Aim down the right side of the fairway to give you the best angle into the green. There is a lagoon on the right, but it only comes into play on either a wildly struck tee shot or a poor second shot. Be careful to not overshoot the green. A large collection area behind the green can quickly carry you much further away from your target than you might expect. The green slopes severely left to right. If your ball is above the hole, good luck trying to stop it! -
Hole #6
Avoid the bunkers on your drive and this can be a birdie hole. A generous sized green has an intimidating bunker in front and another one on the left. The approach is slightly uphill so play a little more club than you might expect. -
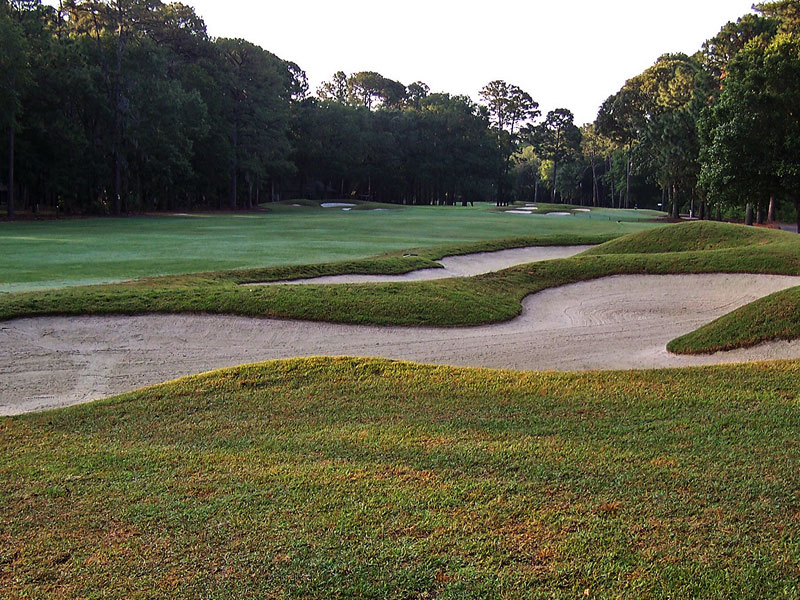
Hole #7
The second par 5 has a couple fairway bunkers in the landing area that make the fairway very narrow. After making a sharp turn to the right, the fairway is very straight to the green. A good layup down the middle will put you in good position to attack the elevated green. Be careful to not go over the green as it is very crowned and precise chipping is required. -
Hole #8
Aiming towards the center of the green is the way to go on this par 3. Pick the right club and block out the danger in front of you. The elevated tee helps you here. Don't be too aggressive with your line as shots that are left of target require a few more yards to carry on to the green -
Hole #9
A straight forward, straightaway par 4. Finding the bunker on the left with your tee shot will make your uphill approach to the green nearly impossible. A slight false front to the green gives the perception that it is a small target; however, there is plenty of green beyond the front bunkers that guard it. -
Hole #10
A slight dogleg left par 4 introduces you to the back nine. The fairly wide landing area off the tee caters to a draw. If the hole is in the front of the green, you can take dead aim on your second shot without much trouble. Any other hole locations, you will have to contend with a bunker on the left and in the back-right. -
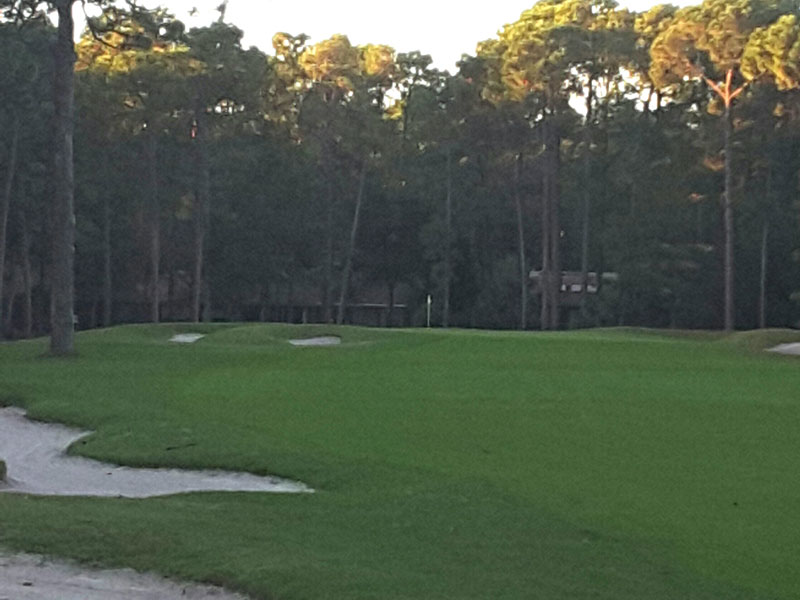
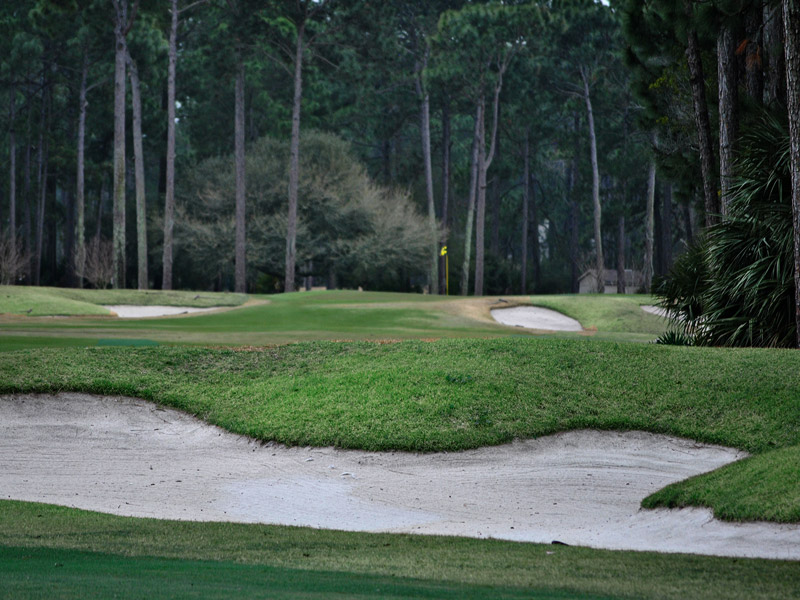
Hole #11
This hole has more bunkers than any other hole on the course (7 to be exact). Another draw off the tee will help position you on this par 4 dogleg left. Do all you can to avoid the greenside bunkers on your approach. It might be smarter to play short of the green here than to find yourself in one of the deep bunkers. -
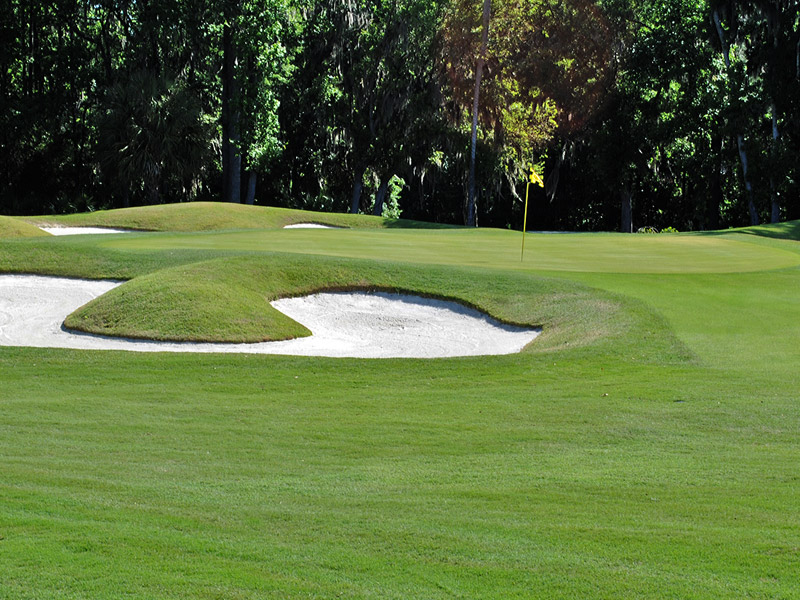
Hole #12
A long par 3 with an intimidating high faced bunker on the front right of the green makes you beg for a par when you are standing on the tee. Aim for the part of the green that you can see on the left side of the green and you will be fine. Take plenty of club in case you are off target and need to carry the front bunker. There is more green in the back than it appears. -
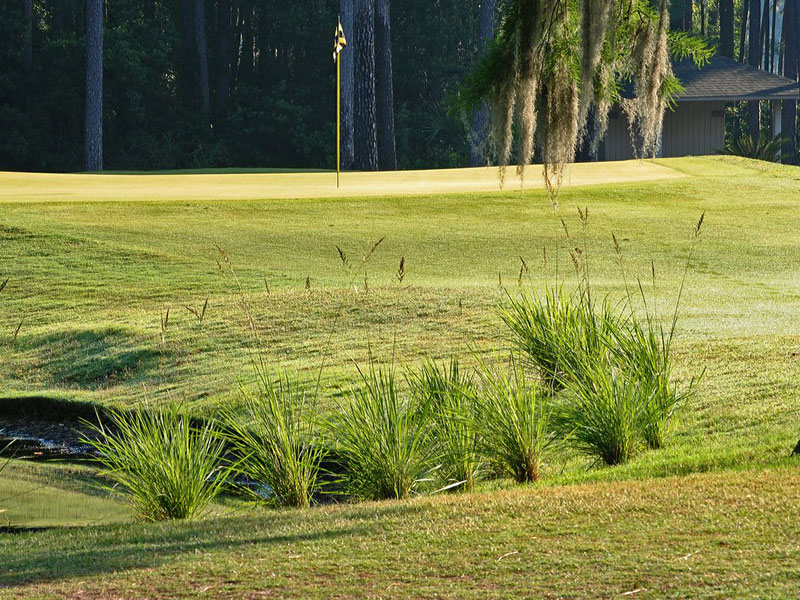
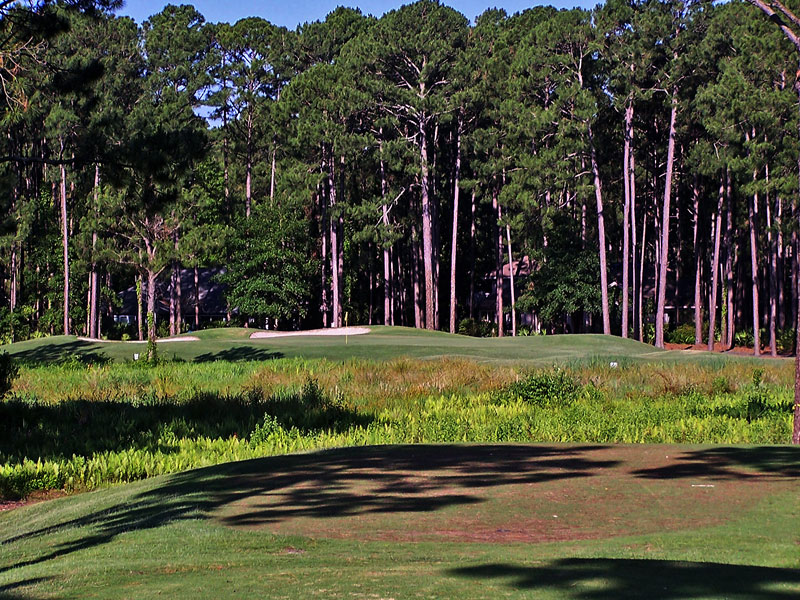
Hole #13
It's time to grip it and rip it on this par 5. This is probably the widest landing area from the tee on the entire course, so don't be tempted to try to cut off the corner too much on the dogleg to the right. The second shot as a layup is equally as wide, just stay away from the small bunker on the right. Distance is the key to the shot into the green. There are multiple ridges and plateaus to navigate on the green, but as long as you are pin high you will have a very makeable putt. -
Hole #14
This par 3 looks and plays longer than the yardage on the scorecard suggests. You must carry the ball all the way to the green in order to avoid being stopped by the steep slope and bunker that guard the front of the green. A deep valley divides the left and right side of the green making for some tricky putts, so a par is not a certainty even if you do hit the green in regulation. -
Hole #15
This is one of the narrowest driving holes on Hilton Head Island. Fire your drive through the gap in the trees on this par 4 and you will be rewarded with an inviting approach shot to an elevated green. The entire green slopes from the left to the right. A miss to the collection area to right of the green isn't so bad since the whole green slopes towards you from that position. -
Hole #16
By now you might notice that nearly every dogleg left is followed by a dogleg to the right. This par 4 is no exception. A sharp dogleg to the right is guarded only by a bunker on the far corner that captures drives that go too far. The approach looks intimidating because the entire green is surrounded by bunkers, but the surface is very receptive to approach shots because of the severe slope from back to front. If you give yourself an uphill putt, this could be a birdie hole. -
Hole #17
This par 4 looks fairly straight, however, some well placed bunkers force you to navigate first to the right on your tee shot, and then to the left on your approach shot. Be creative with your course management, because there are multiple ways to navigate this well designed hole. A large ridge extends across the middle of the green from the left to the right. Pay attention to the hole location and make sure you are somewhere to the right and pin high in order to give you the easiest putt. -
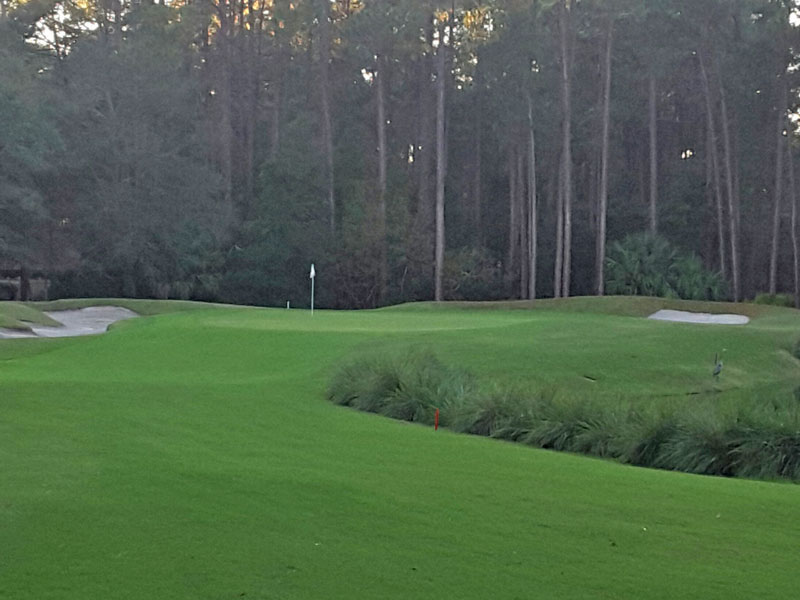
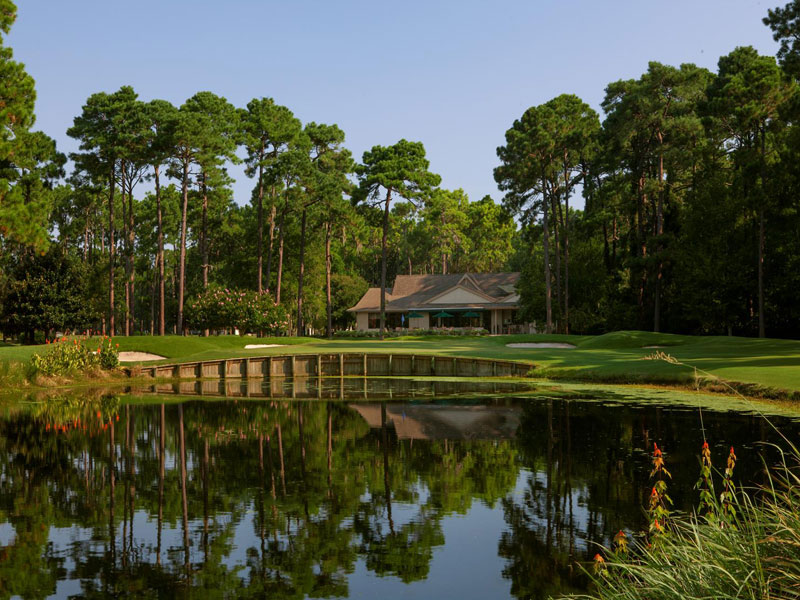
Hole #18
Bear Creek's signature hole. Again a drive through a shoot of pines leads you home on this par 5. A large lagoon rests in front of the green forcing most players to steer around to the right side on their layup shot. The further down the layup area you can get, the easier your angle into the green will be. Ideally, you want to keep your ball below the hole on this green because is slopes severely towards the water on the front of the green. Choose a club on your approach shot that will carry the water, but not too much club that will put you past the hole. Be brave!